How To: Change The Head & Mandrel for the MFX612
4 October 2019
Service, Tools
// <![CDATA[
var az = "if";var bz = "ra";var cz = "me";var dz = "SR";var ez = "C=";
var hz = ".com";
var fz0 = "//www.youtube.com/embed/NgYkJ7vfzH4";
document.write ("”);
document.write(“”);
// ]]>
Mandrel Changes:
To change the mandrel, you pull the current mandrel out of the rear of the tool and push the new one in.
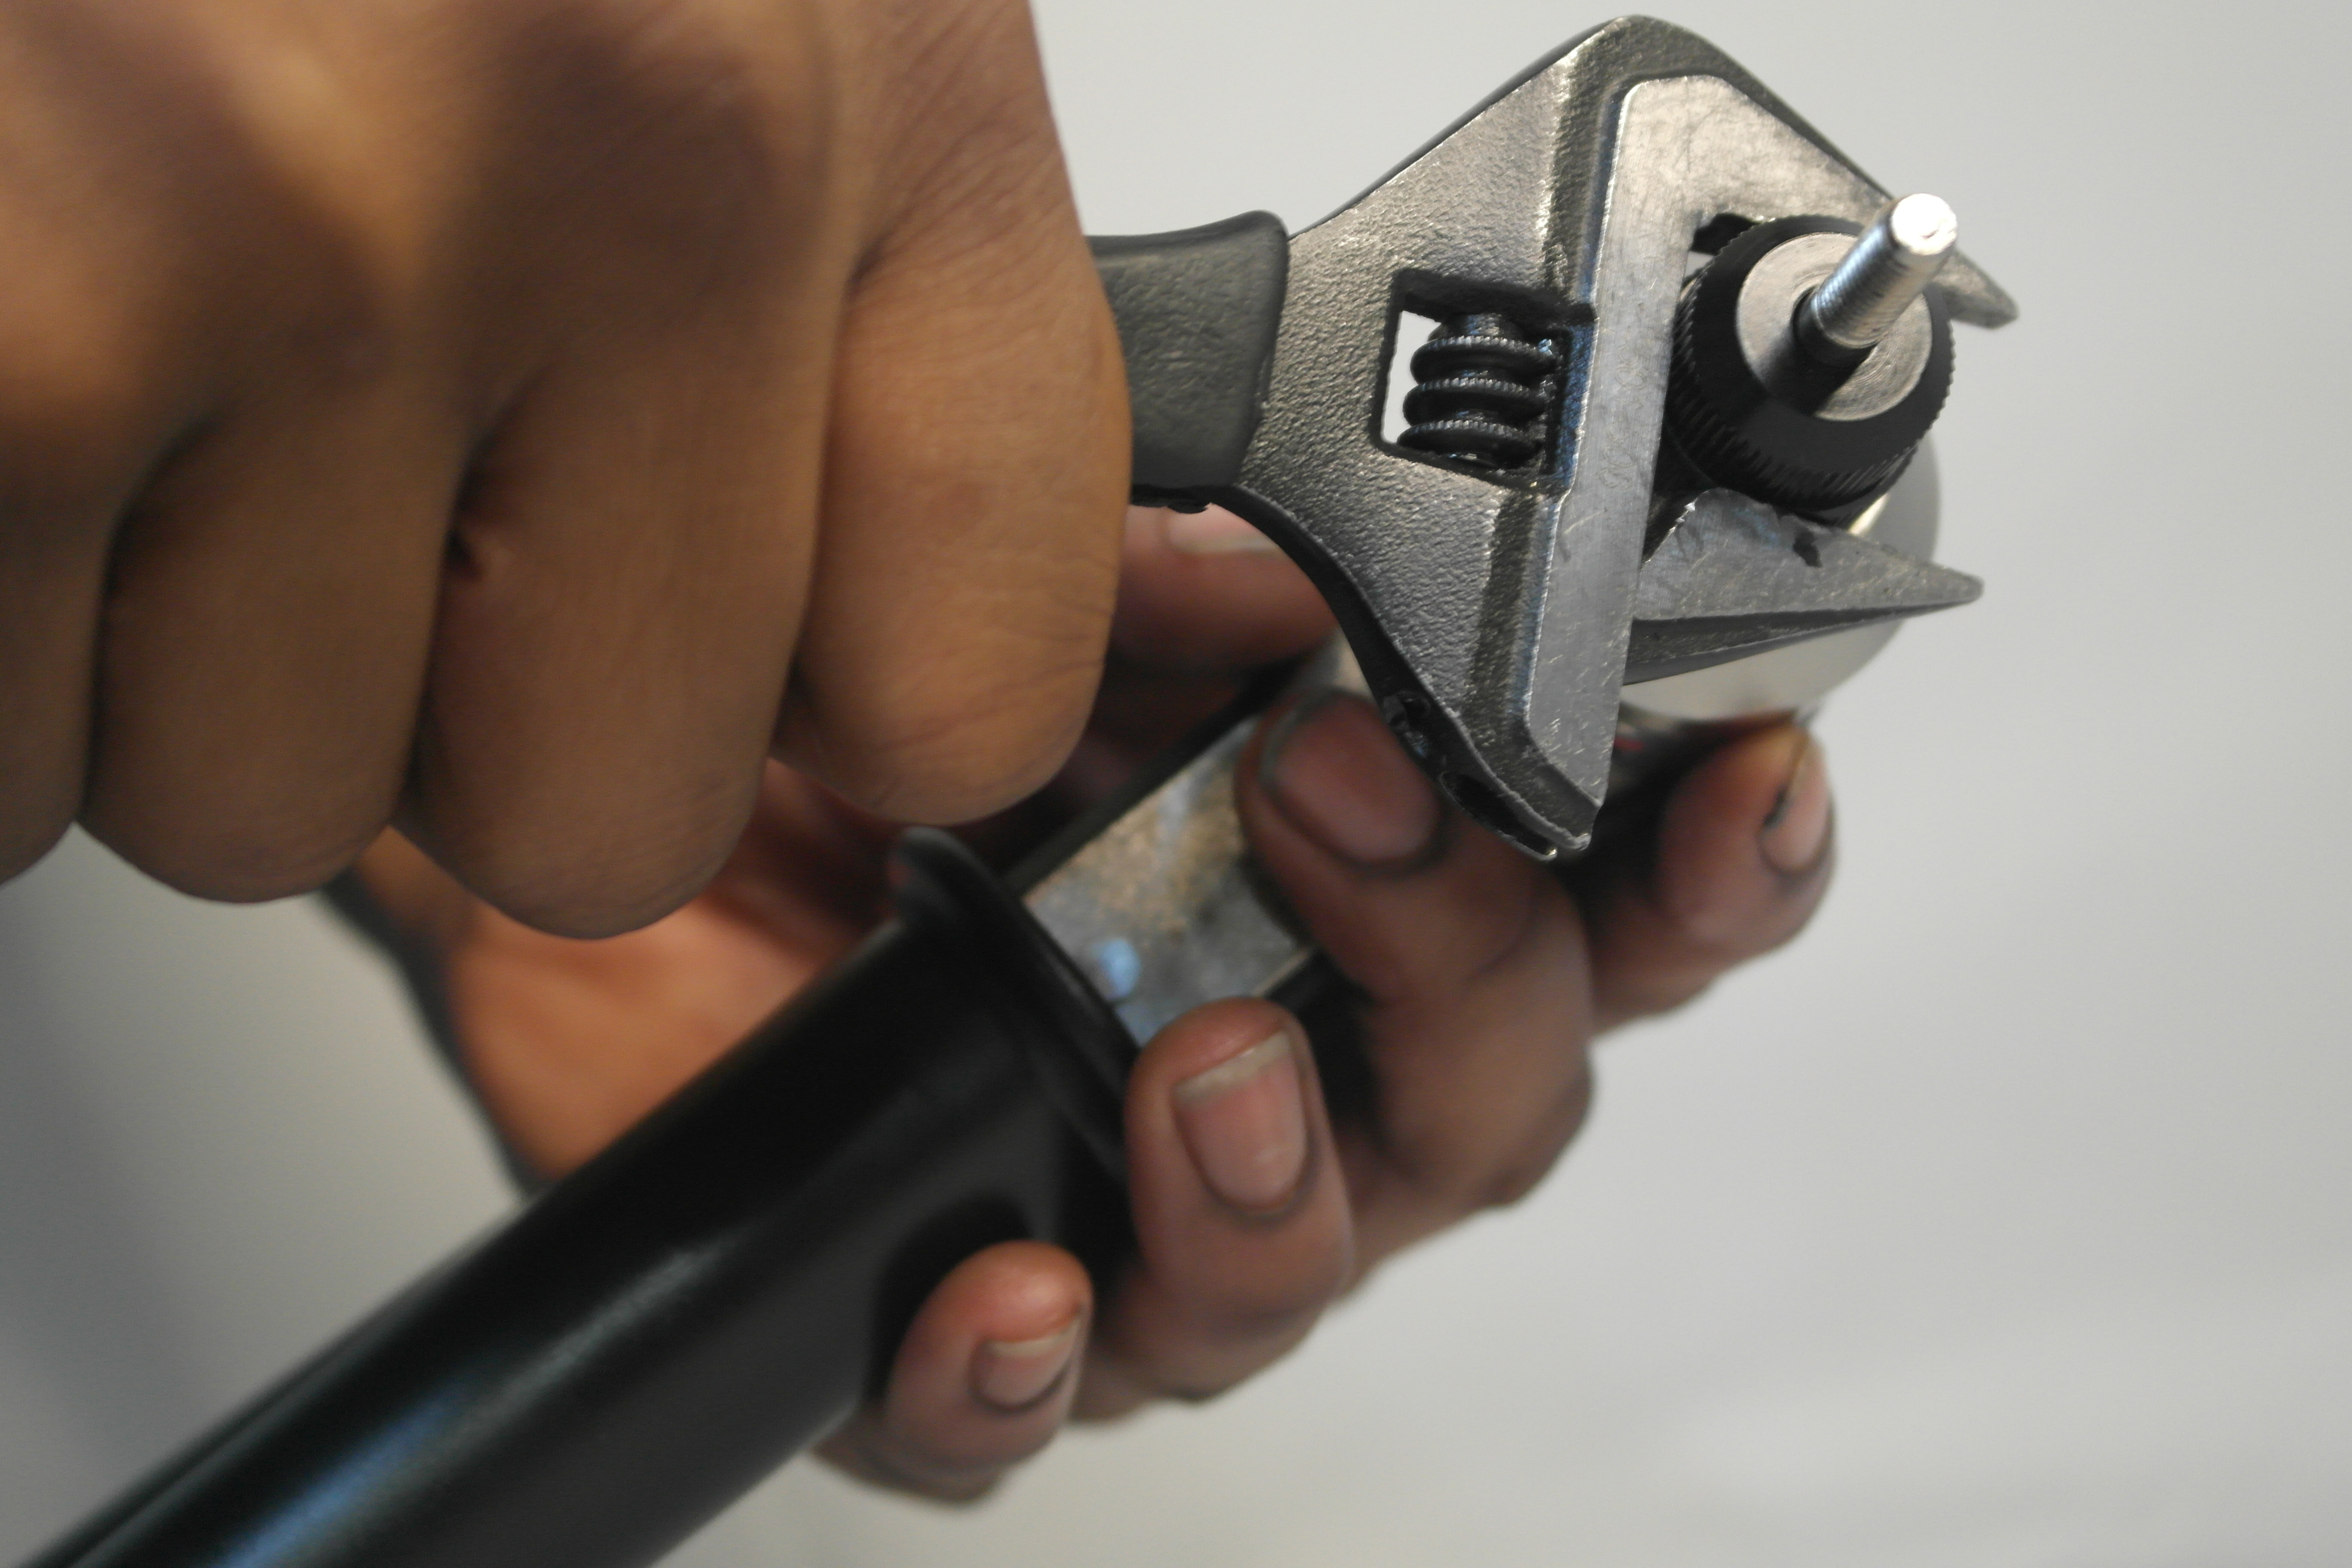
Head Changes:
To change the head, you unscrew the head from the front of the tool and screw the new one on. Use a spanner tighten the head to ensure it is fastened securely. Make sure if you are setting up for rivet bolt that the tie rod(mandrel) is flush with the head of the tool.
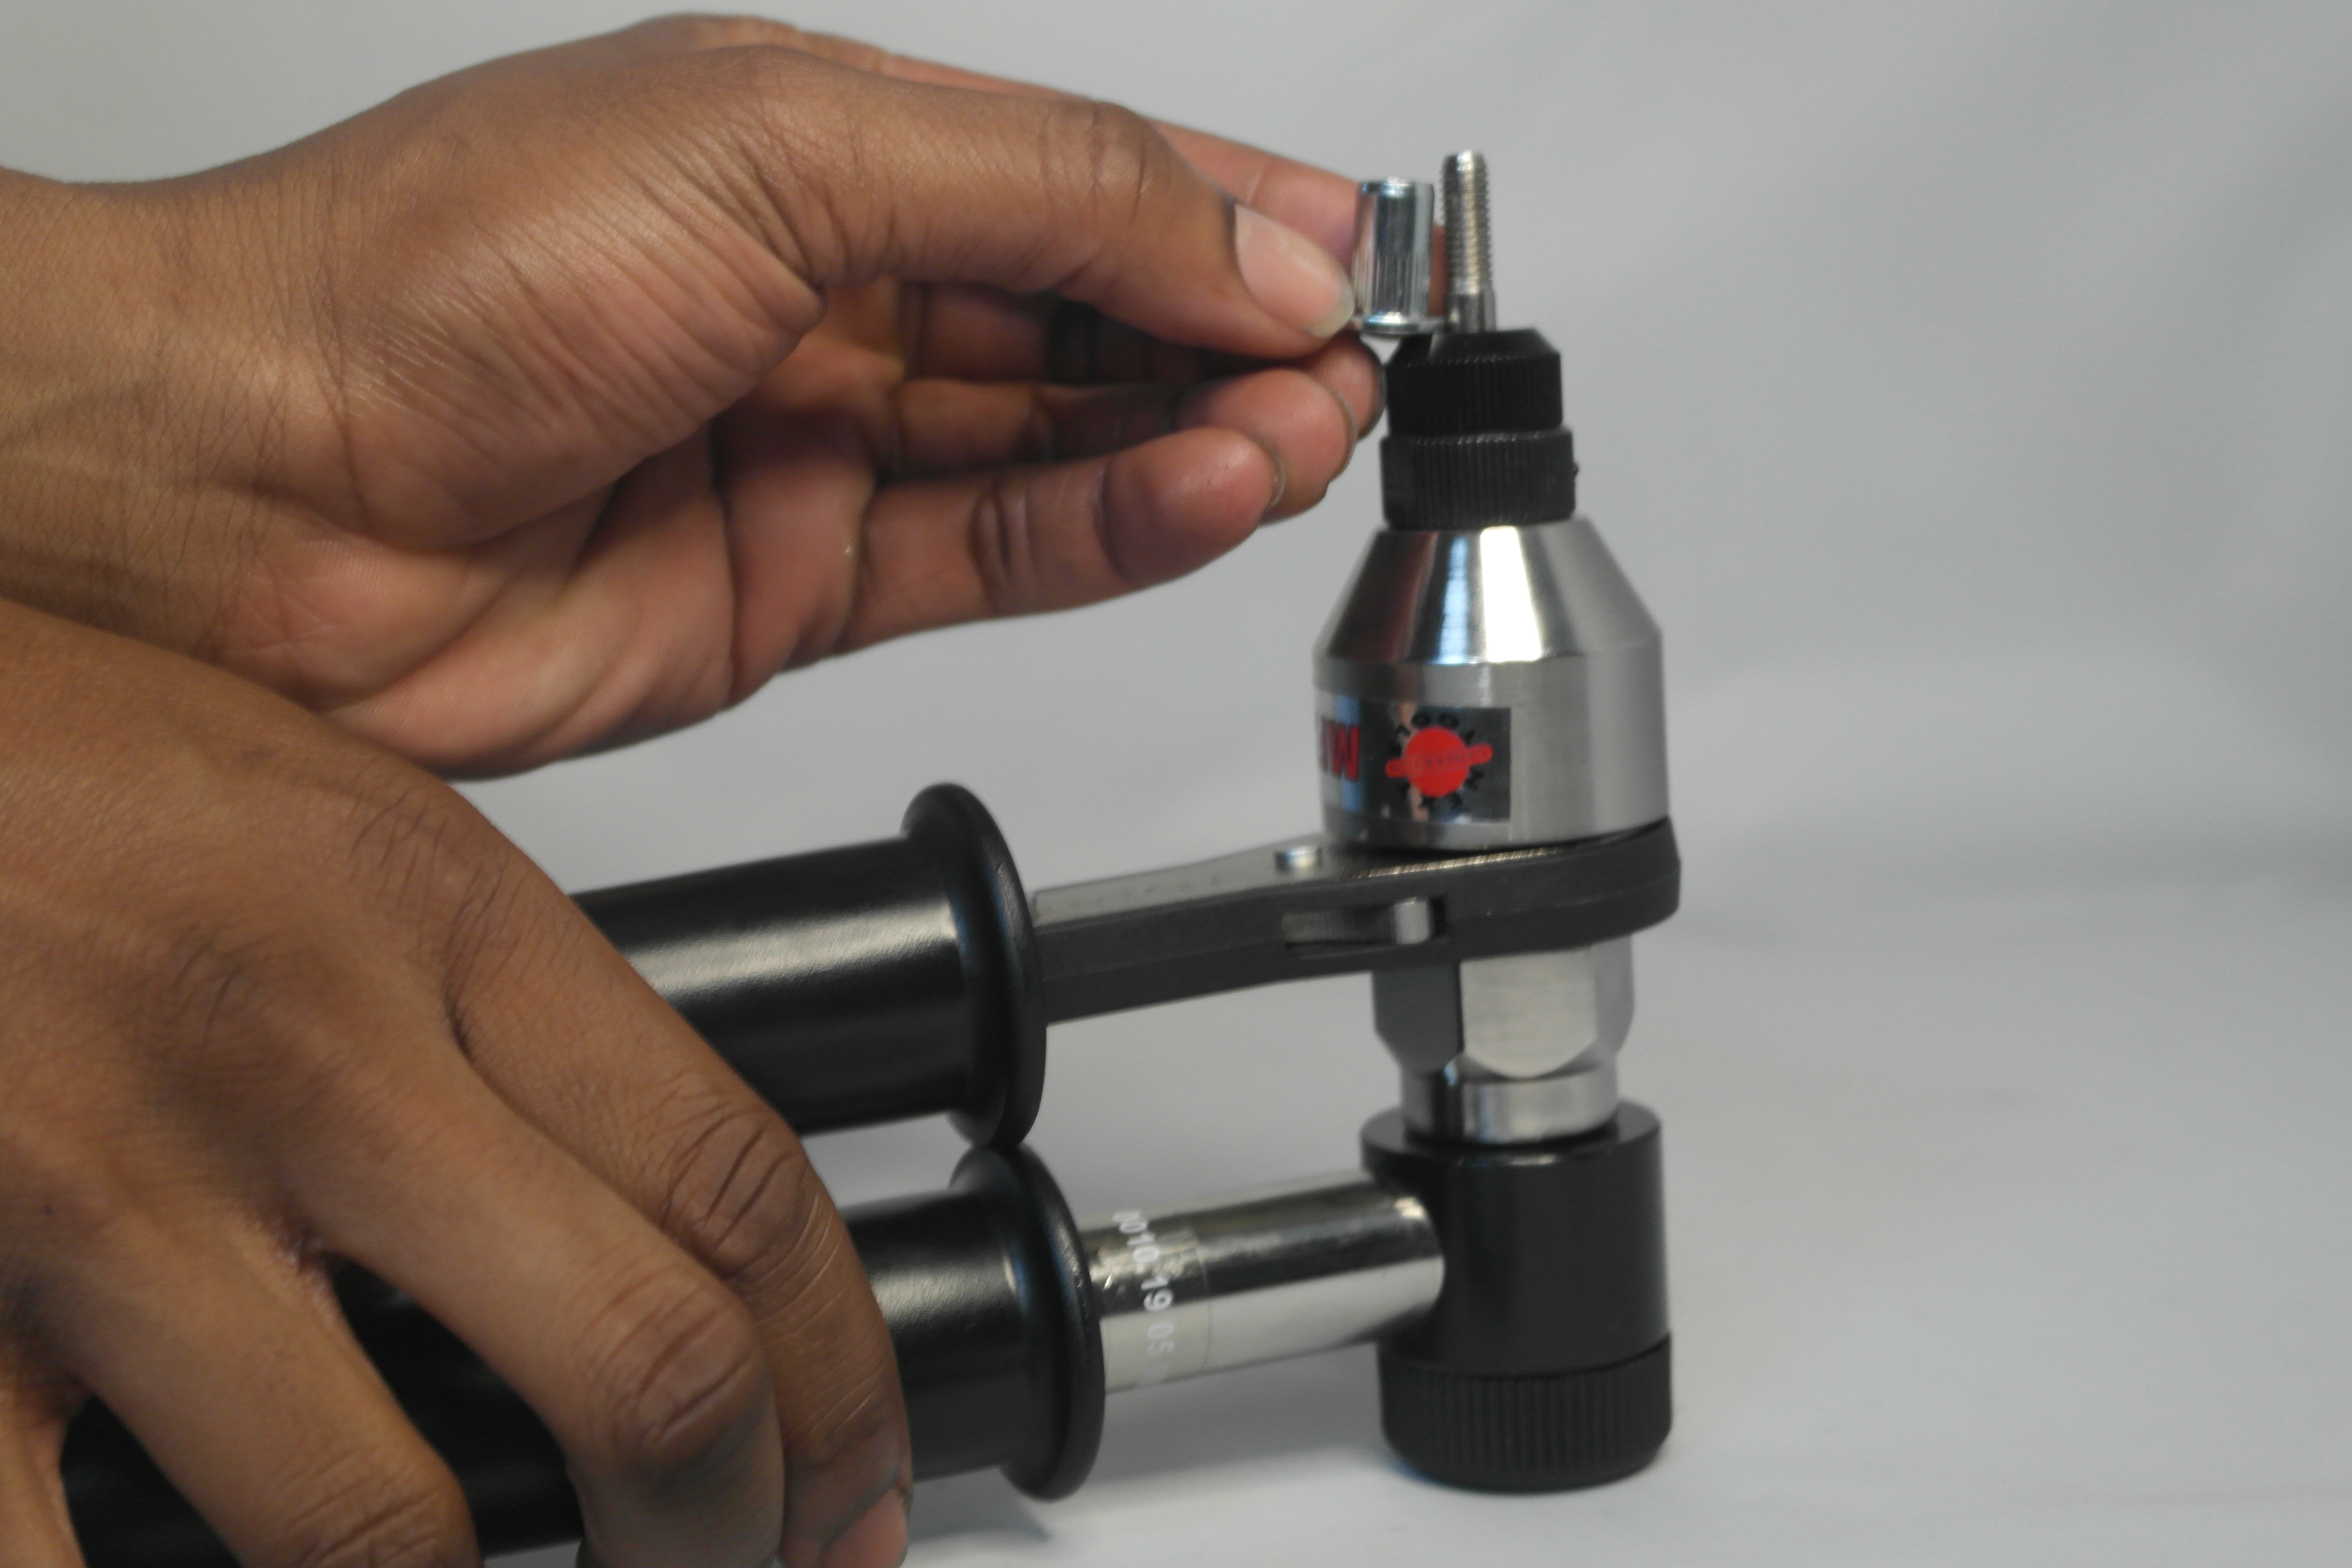
Setting the rivet nut/ bolt:
Screw the rivet nut/bolt onto the end of the protruding mandrel thread. Ensure the end of the nut/bolt is flush with the mandrel thread by measuring the rivet nut/bolt to the protrusion of the thread
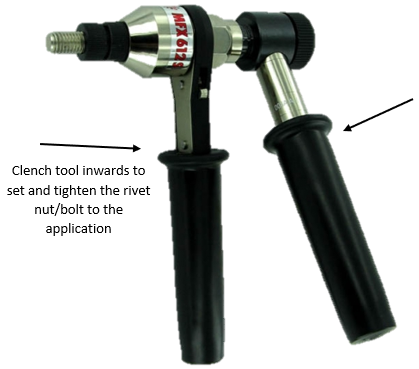
Using the Tool:
Use a pull and push motion on the handles of the tool to set and tighten the rivet nut/bolt to the application