Flat, straight and square lumber is crucial to starting any woodworking project. Your board has two faces and two edges that must be square and parallel to one another. Four Square, or S4S is a milling term used to describe this. Milling wood inacurately creates problems that will compound themselves throughout a project. The procedure for accurately milling wood is always the same. When this sequence of six steps is followed on every board you will be off to a great start!
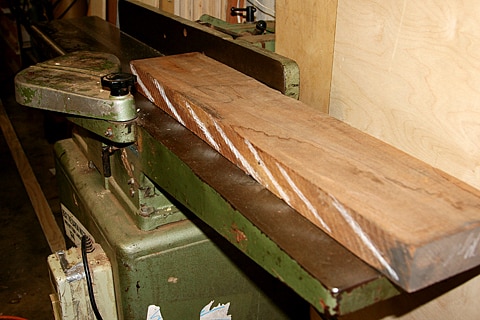
Step 1: Read The Grain!
I can not stress enough how important it is to read the grain direction on every board before every milling operation in your woodworking project. This first step is so important but often overlooked. This step alone will save you money and time by producing a much finer surface as well as saving you wear and tear on your machines and the dulling effect on planer and jointer knives.
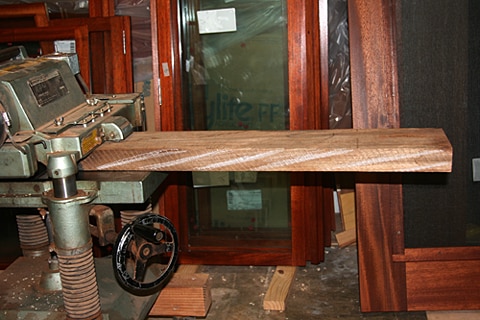
Step 2: Make one face flat on the jointer. (I like to join the crowned face first.)
Step 3: Make the opposite face straight and flat using the planer, to produce two parallel faces.
Step 4: Choose either edge to straighten on the jointer.
Step 5: Rip the remaining rough edge on the table saw to produce two parallel edges.
Step 6: Square the ends on the table saw.
These steps will guide you in the beginning stages of milling for your woodworking project. Watch the videos below. I perform all six steps of how to square wood and explain in detail how to achieve S4S lumber.
In summary, anyone can square lumber without reading the grain, but it will take much more work in the long run to create a quality product because you will have so much hand planing and sanding involved. Reading the grain and milling your stock accordingly is not just an arbitrary woodworking rule, it is guaranteed to save you time and money.