Many makers decide they want to weld their own laser cut and waterjet cut parts. This decision can be a daunting one; the upfront costs can be high depending on what equipment you choose, and there’s a definite learning curve, especially if you decide to jump into TIG welding. So we’ve put together some of our best welding tips to help you through your first laser cut and welded projects.
At the same time, there is no more versatile tool you can add to your design-build “toolbox” than the ability to weld two custom-made pieces together. Not to mention the satisfaction that comes from seeing your idea go from a napkin-sketch all the way to finished product using your own tools and ingenuity. So if you’re just getting started, congratulations!
This article covers
- Welding Methods: Stick (SMAW) vs. TIG (GTAW) vs. MIG (GMAW)
- Material selection: which metal fits my project goals best?
- Prep/Post: What cleaners, surface finish, or beveling. Post-weld finishing?
- Gauge, strength-to-weight and cost considerations?
Welding Tips to Join Your Cuts Like a Pro: Do’s & Don’ts
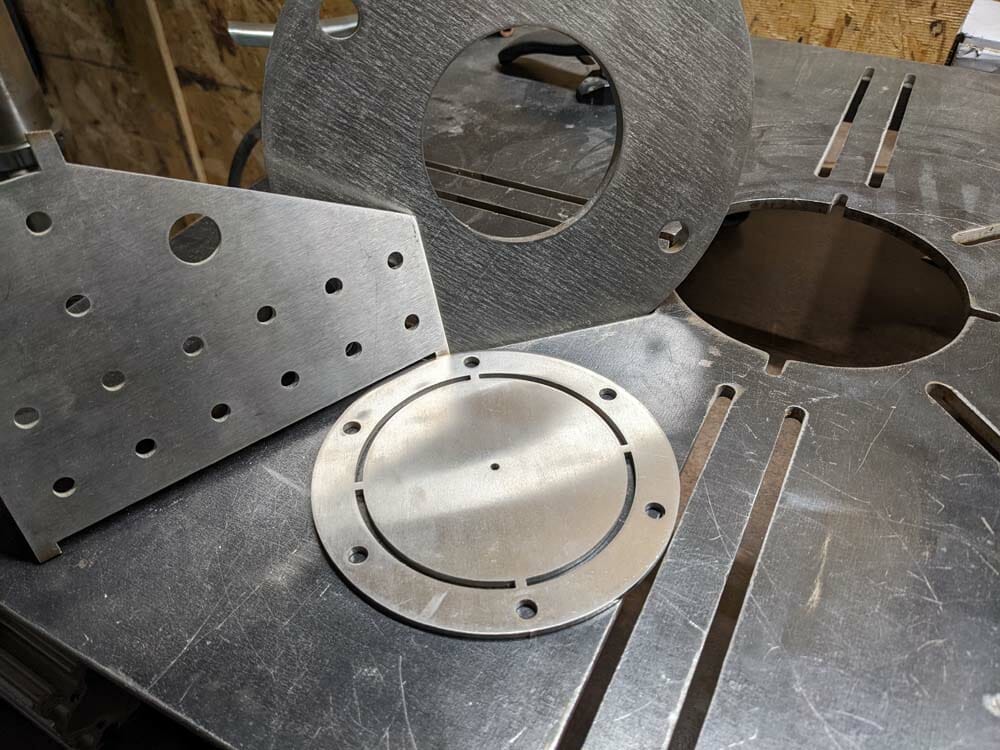
Here at SendCutSend we aren’t able to provide custom weldments (yet), but we can supply the right material for just about any welded assembly cut quickly and accurately every time. Pair that with our ever-growing list of Services and whether you’re fabricating a coat hanger or a race car, we’ll get you the parts you need to succeed.
Read over these tips and tricks to effectively weld metal parts right the first time.
Safety first
Welding is an inherently dangerous process. Be informed on how to protect yourself from arc flash, weld fumes and electrocution. Play it smart and play it safe every single time you strike an arc.
Clean and prepare your metal
Regardless of whether you’re using a mig welder with flux core wire, a stick welder, or a tig welding setup that costs five figures, dirty, oily, or heavily rusted base metal will always end up as inclusions in your weld bead. Inclusions decrease strength and increase porosity in welds, leading to potential for catastrophic failure.
Hold the torch with both hands
Control is a key part of good welding technique. This means that if you’re MIG (GMAW) welding, you’ll want to hold the torch with two hands–one on the trigger, and one resting on the workpiece and stabilizing the torch neck.
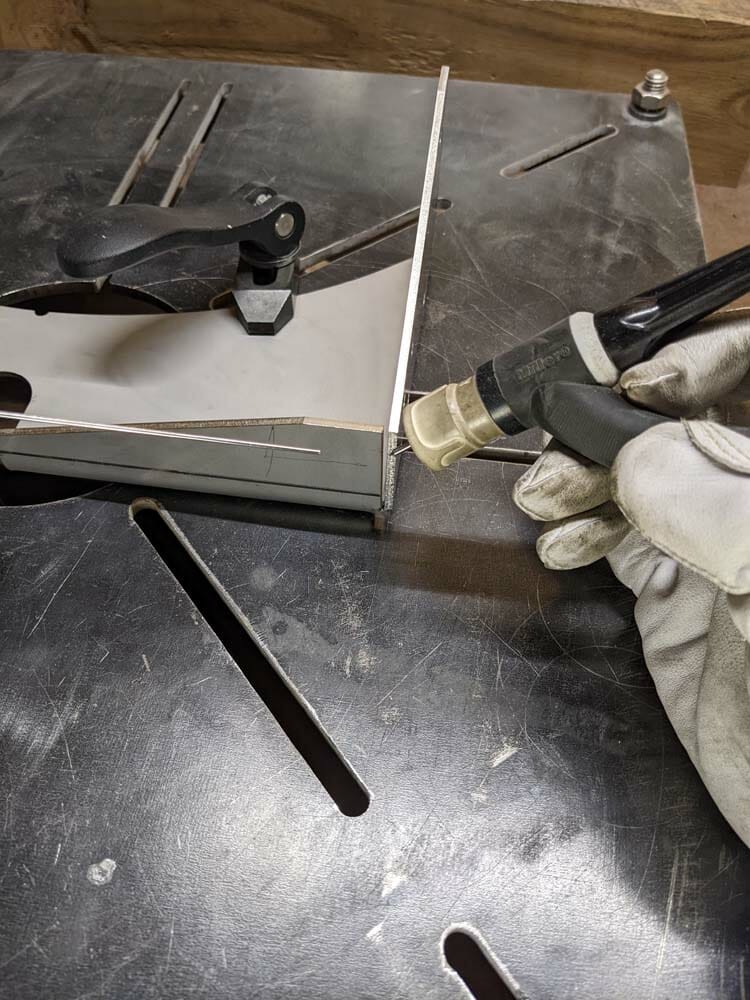
If you’re TIG (GTAW), or stick (SMAW) welding, the method is a little different, but whenever possible, it’s best to orient yourself, or the workpiece, or both, in such a way that you can trace the whole length of the weld without repositioning yourself too much. This stability will really improve stop/starts as well as the final look of the weld bead.
Do you push or pull?
Actually, that depends! One catchy way to remember to pull when stick or flux-core MIG welding is to tell yourself, “if there’s slag, you drag.”
For MIG or TIG welding with shielding gas such as argon, tell yourself that “if there’s gas, push the pass.”
Different Methods of Welding
There are three common welding methods that each use heat generated by electrical current along with filler metal to join two pieces:
Stick Welding – Shielded metal arc welding (SMAW)
In stick welding a handheld clamp (Stinger) is used to hold the metal electrode which is consumed in the welding process. To protect the weld pool from the atmosphere the electrode is coated with flux, which off-gasses when heated, displacing the air around it. As the weld cools, a slag layer protects the new joint from further oxidation.
- How-To: Hold the filler rod with the clamp and it becomes the electrode. Good for beginners. Gets the job done, but with more spatter.
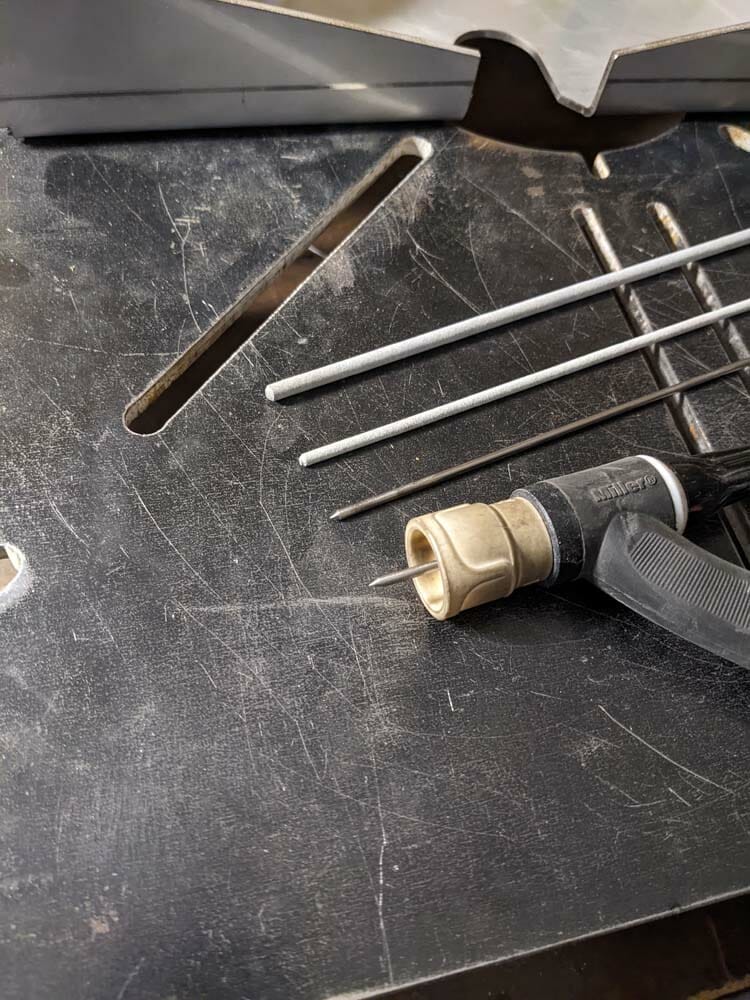
TIG Welding – Gas Tungsten Arc Welding (GTAW)
With TIG welding the TIG torch secures the tungsten electrode and distributes shielding gas around it to protect the weld pool while the filler rod is held in the other hand and dipped in and out of the weld pool to form the weld bead. TIG is by far the most versatile and controllable process.
- How-To: Hold the filler rod in one hand and the torch (electrode) in the other. Great looks AND great taste.
MIG Welding – Gas metal arc welding (GMAW)
MIG welding: As with TIG welding, shielding gas is fed through a handheld welding gun or torch, but with a MIG gun, the welding wire is fed from a spool in the welder through the contact tip of the gun. The wire-feed is both the electrode and the filler wire.
- How-To: The filler rod (electrode) feeds continuously out of the gun. Quick and effective.
This is meant to be a very brief comparison of the three methods so you can decide which will work best for your laser cut metal parts. For guidelines and assistance for setting up your welder’s amperage, or which consumables to use, abound online check out Miller’s Weld Settings Calculator.
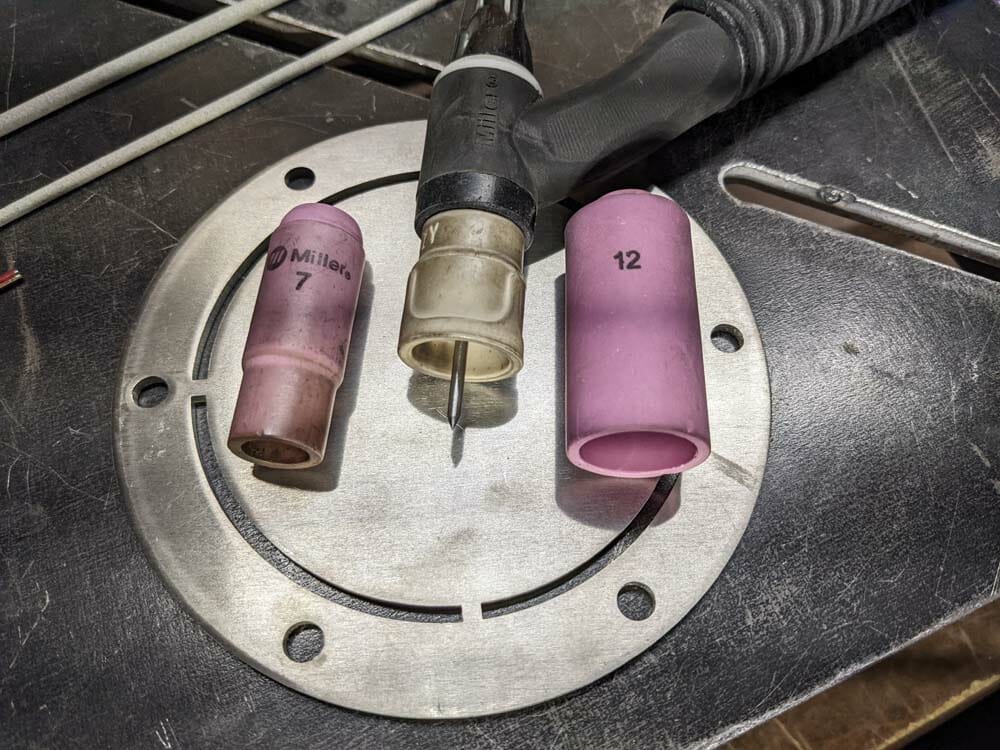
Different cup sizes, along with things like adjusting the amps and stickout, allow you to tailor the weld for different applications.
Once you decide which method(s) fits your use case, you’ll have to pick a metal for your laser cut parts.
Welding tips for Mild Steel
Mild steel is also known as “low-carbon” steel because of a carbon content that maxes out around 0.33%. While this might not sound like much material, carbon affects the microstructure of the steel and is largely responsible for its durability and toughness.
A high carbon content contributes to weld porosity, britalization and cracking in the heat affected zone (HAZ), and excessive softening further away from the weld. Low-carbon steel avoids all that, maintaining excellent strength and ductility post-welding, and as such, is the material of choice for most fabricating. It is also less likely to warp from the uneven heating of the welding process than a stainless plate welded in the same way.
Along with the most common hot-rolled (HR, HRPO) and abrasion resistant (AR400-500) grades, we carry 4130 Chromoly steel, which adds chromium and molybdenum to the recipe to produce an extremely stress-resistant steel. Use this grade for all your frame (car, bike, even airplane) building needs.
Prepping mild steel for welding:
- Plan to spend some time with a flap disc if you choose HR steel and follow it up with some cleaner to prep the surface for welding.
- The appropriate cleaner depends on the application, but in general, denatured alcohol is a safer alternative to acetone and just fine as prep for welding steel.
- Sandblasting is also a great option for clearing heavy amounts of contamination, rust or paint, although parts you order from us should never need this much prep.
Warning: Never, ever, use brake cleaner as a degreaser to prep parts for welding. From the safety data sheet “Do not use this product near… welding operations, or excessive heat. Vapors may decompose to harmful or fatal corrosive gasses such as hydrogen chloride and possibly phosgene.”
Post weld tips:
- If you want a uniform surface finish, a wire wheel or fiber disc is a good choice.
- Sandblasting can also be used to achieve an even bare surface post-weld.
- Protect the final product from weather. Paint or powder coating are necessary to prevent destructive amounts of rust.
Welding tips for Stainless Steel
While stainless steel is technically “low-carbon” as well, the secret to its super powers lies in the addition of chromium and nickel, which inhibit oxidation and rust formation.
If you’re looking for a material with excellent weldability, strength comparable to that of mild steel, and complete disregard for harsh environments, look no further.
We offer both 304 stainless steel and 316 stainless steel, which in addition to the chromium and nickel brings about 2.5% molybdenum to the party. This makes 316 the most corrosion resistant and useful for sanitary or medical applications where chlorides are used.
Why not always use stainless? One, it’s more expensive, it also hardens quite easily so don’t expect to do much cold forming. Machining is also more difficult and it is recommended that tools for stainless be kept separate and very sharp. For these reasons consider having us tap any holes you may need in your stainless parts with our tapping service.
Prepping stainless steel for welding:
- Another benefit of stainless parts cut on our laser is that a simple wipe with alcohol is often the only prep required.
- Any material 3/16” or thicker should be beveled prior to being welded to ensure full penetration.
- If you plan to TIG stainless to mild steel, make sure to choose an E70S2 or 312 filler rod.
Post weld tips:
- Did you do a good job controlling the heat? Great, you’re done!
- For a uniform finish, hit it with a light abrasive wheel or fiber disc.
Welding tips for Aluminum
After mild and stainless steels, the most common material for fabrication is likely aluminum. Comparatively speaking, aluminum is a newcomer to the party, only becoming commercially around the turn of the 20th century. That said, due to its outstanding strength-to-weight (aluminum is 2.5 to 3 times less dense than steel) great fatigue strength and general corrosion resistance, it is the go-to material in many industries, from aerospace to robotics to automotive sheet metal.
We offer two grades, 5052 aluminum and 6061 T6 aluminum which can be welded with relative ease. Our other aluminum alloy, 7075 aluminum is great, but because of its chemistry is extremely prone to cracking and stress-corrosion in the HAZ. So stay away from the 7075 unless you have access to friction stir welding equipment. Hint: you don’t!
There are a few caveats that make aluminum welding unique from other materials:
- For TIG, you’ll be using AC (alternating current) rather than DC (direct current), so make sure you purchase a welder that supports both!
- For MIG, consider purchasing a spool gun, where there is a small spool mounted to the gun. This prevents the soft aluminum wire from “birdnesting” in the long trip from the welder to the gun. Also, always push, never pull (drag, backhand).
- If the two pieces are significantly different in thickness, preheat the thicker piece to about 200°F to ensure that it melts at a similar rate as that of the thinner piece.
- For maximum strength and durability from your final 6061 weldment, heat treat for 1 hour at 400°F to remove built up stresses near the weld.
Prepping aluminum for welding:
- The first step is to degrease the metal. Toluene is more effective than Acetone and safer than any chlorinated products.
- Make sure that all moisture is removed from the material’s surface, this means the aluminum should always be allowed to come to equilibrium with the room’s temperature (or even better, preheated so that no moisture can condense).
- Aluminum oxide is present almost immediately after aluminum is cut, so it must be removed right before being welded. Wire brushing by hand is the best method because it avoids any smearing of the soft aluminum.
Post welding tips:
- Since aluminum oxide forms almost immediately and is super hard (rubies and sapphires are aluminum oxide), you won’t get much corrosion on your bare aluminum.
- However it is susceptible to galvanic corrosion, sulfates and chlorides. So consider painting, anodizing, or our powder coating services.
Welding SendCutSend Parts is One Instant Quote Away
Need more info to decide what welding method is best? Have a look at our MIG vs TIG writeup.
Like the idea of welding, but not sure it’s right for your project? We’ve also written about plenty of other Fastening Methods.
Whether your welding project calls for the durability and affordability of mild steel, the all-weather elegance and sanitary/washdown properties of stainless steel, or parts cut from featherweight, fatigue-resistant aluminum, check out our Materials Page for these, and so many more.
For an instant quote, upload your design today.